Personalization
The personalization menu contain general settings for the agent account, security possibilities to protect this account using password and two-factor authentication, notification settings, chat availability states and an editor to customize the organizer.
The personal preferences can be set via the avatar image of the organizer sidebar in the top left corner.
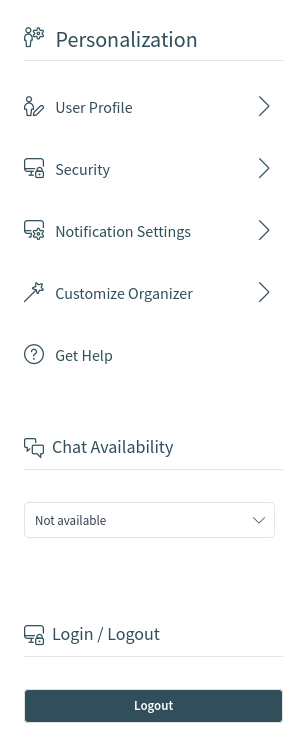
Personalization
Every menu item has a search box in the top of the widget to search for a specific setting.
User Profile
This menu item contains general settings for the agent account.
- Avatar
- Here can be changed the image used as avatar image. It is possible to upload an avatar image directly or you have to register your email address on Gravatar to use this feature. Otherwise the first letters of first name and last name will be displayed.
- Language
Here can be selected the language for the user interface.
Only those languages are listed by default, for which the translation completeness is at least 95%. To see all available languages, click on the globe icon next to the drop-down list.
See also
Translation status of incomplete languages are low, but you can help to improve the translation. See the developer manual for more information about translating OTRS.
- Style
- Here can be selected, which style should be used for the user interface. For some styles the Variant is also can be chosen.
- Time Zone
- Here can be selected the time zone used by the user interface to display time values. Just start typing the name of capital city of your current location.
- Date Time Format
- Here can be selected the displayed format of the time values.
- Out of Office Time
- Use the calendar entries to set the start and the end date for your out of office days. Multiple entries can be added here.
When you have finished the settings, press the Save button.
Security
This menu item contains the settings to protect the agent account.
- Change Password
- Here can be change the current password of the agent by entering the old and the new passwords.
- Two-factor Authentication
Here can be added an additional authentication method, which is called two-factor authentication. The two-factor authentication acts as a second password to protect the account. While the normal password is something that the agent have to know, the two-factor token is something that the agent have to own. This means, if an agent enters the username and the password, then a token will be sent via email or SMS, or the agent can use a pre-configured authenticator application.
To set a two-factor authentication method:
- Click on the Setup button.
- Enter your current password.
- Follow the instructions you see on the screen.
This setting uses the same steps that are already explained in the Login to Agent Interface chapter.
Notification Settings
This menu item contains the settings regarding to notifications.
- My Queues
- Here can be selected some queues as preferred queues.
- My Services
- Here can be selected some services as preferred services.
- My Chat Cannels
- Here can be selected some chat channels as preferred chat channels.
- Ticket Notifications
In this widget can be selected the methods used for any kind of ticket notifications.

Ticket Notifications Widget
The possible methods are Email, Web View or SMS.
- Appointment Notifications
In this widget can be selected the methods used for any kind of appointment notifications.
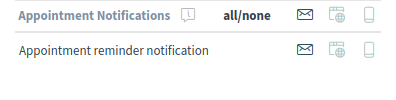
Appointment Notifications Widget
The possible methods are Email, Web View or SMS.
Customize Organizer
This menu item contains the possibilities to customize the organizer sidebar.
The organizer sidebar displays the items that are currently added to the organizer. It is possible to add new items or edit the existing items. An item can be added more than one. This is usefull, if the same item is needed but with different configuration.
To add an item to the organizer sidebar:
- Click on the + icon to add a new item.
- Toggle the icon chooser to set a different icon.
- Enter a name for the new item.
- Select the item type from the list.
- Click on the Customize option to customize the item.
- Click on the Finish Customization button.
- Click on the Save button.
To edit an item in the organizer sidebar:
- Select an item from the sidebar.
- Change the icon and the name of the item, if needed.
- Click on the Customize option to customize the item.
- Click on the Finish Customization button.
- Click on the Save button.
The customizitaion possibilities of an item is depend on the item type. In the customization screen, it is possible to hide and show columns for the item list, select a sorting criteria and the sorting orders, define filters for the objects, as well as set the number of results can be selected. This number of objects will be loaded at first time the list is displayed and for each time the list is scrolled down.
Every organizer item can be moved up and down to change its position in the sidebar. They can can be cloned to make the configuration easier, and of course, they can be deleted as well.
With the Reset to Deafult button, it is possible to reset the organizer to the default state.
Get Help
This menu item is a link to the user manual of the agent interface. It points to the Documentation Portal.
Chat Availability
Here can be selected, that the agent is available for chat or not.
- Not available
- Not available for any chats.
- Internal
- Only available for agent to agent chats.
- Internal & external
- Available for agent to agent and agent to customer, customer to agent, public to agent chats.
Login / Logout
This section is used to logout from the system. Just click on the Logout button to exit.